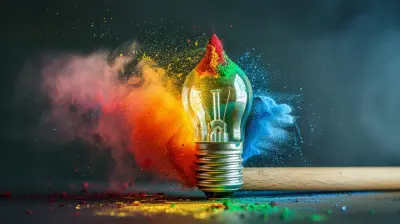
Making Crystals: A Step-by-Step Guide to Growing Your Own
27 December 2025
Let’s be honest—there’s just something magical about crystals. Whether you’re fascinated by their vibrant colors, their sharp geometric shapes, or the science behind how they form, growing your own crystals at home is a super fun, surprisingly easy project. Plus, it doesn’t hurt that the final product looks like treasure from a fantasy world.
In this guide, we’re going to break down the entire crystal-growing process step by step. You’ll learn how to grow crystals using common household items, the science behind crystal formation, and some fun ways to experiment once you’ve nailed the basics. So grab your goggles (just kidding—unless you want to wear them for dramatic effect), and let’s grow some crystals!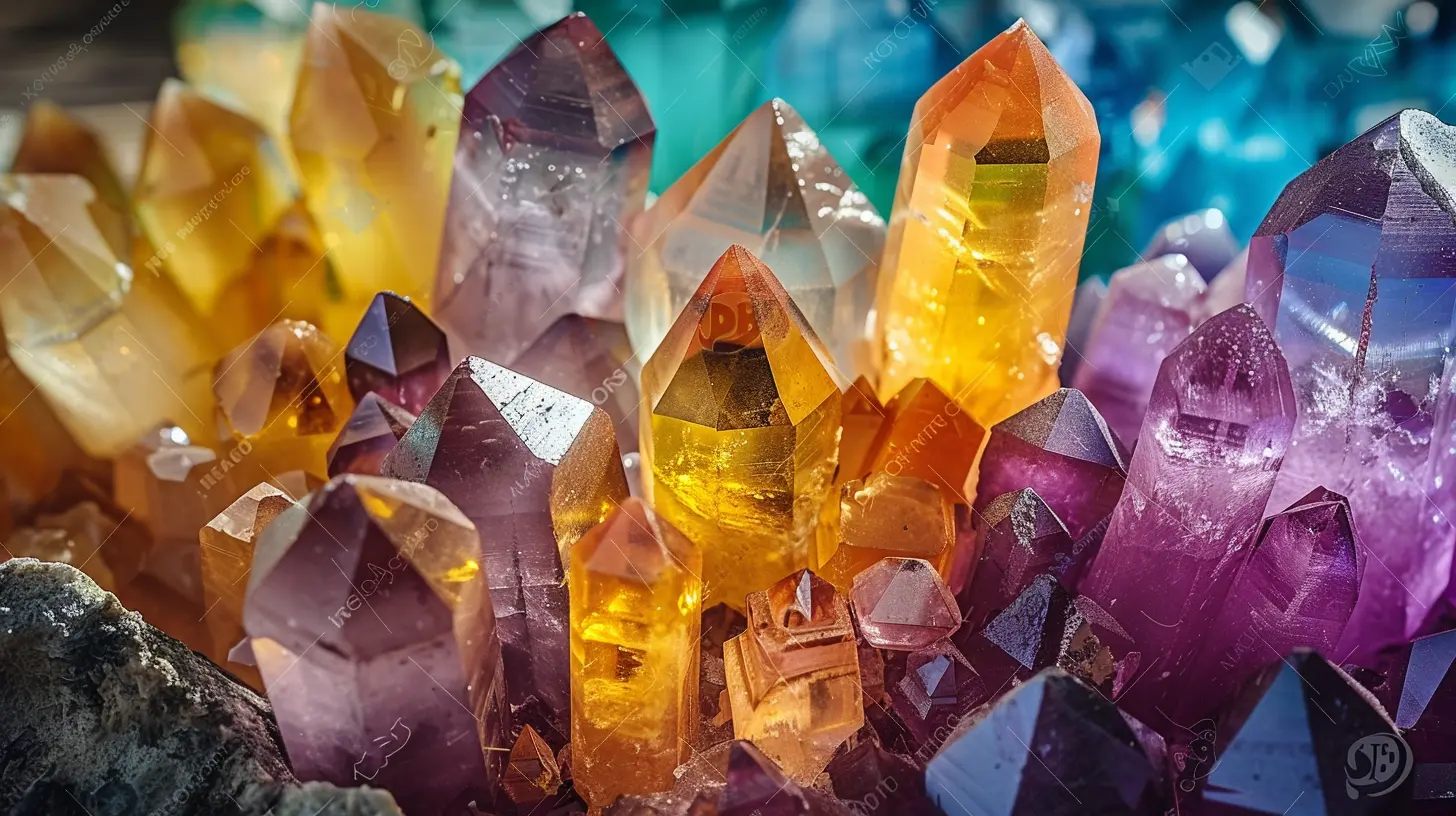
What Exactly Are Crystals?
Alright, before we dive into making our own, let’s take a second to understand what crystals even are. Basically, a crystal is a solid material whose molecules are arranged in a highly ordered structure—like seriously neat and tidy. Think of it like a perfectly organized bookshelf compared to a messy pile of books. That structure is what gives crystals their signature shapes and sharp edges.Crystals form when a liquid cools and hardens, or when substances dissolve in water and then slowly come out of solution and solidify. The key word here is slowly. The slower the process, the prettier and bigger the crystals tend to be.
Why Grow Crystals at Home?
You might be thinking, “Isn’t this something scientists do in labs?” Well, yes—but here’s the cool part—you don’t need a lab coat or a Ph.D. to grow crystals. With just a few simple ingredients, a pinch of patience, and a little know-how, you can create stunning crystals right in your kitchen. Plus, it's a great way to:- Understand chemistry in a hands-on way
- Create beautiful decorations or gifts
- Do a fun science experiment with kids
- Satisfy your inner mad scientist (muahaha!)
So let’s get into it.
The Science Behind Crystal Growth
Let’s keep this science-y part digestible, yeah?Crystals grow through a process called crystallization. This happens when a solution becomes saturated, meaning it contains as much dissolved substance as it possibly can. When this saturated solution starts to cool or evaporate, the solute (the stuff that was dissolved) begins to come out of the solution and form solid shapes—aka crystals.
Different substances form different crystals—sugar, salt, borax, alum, and even Epsom salts all create unique shapes and structures. That’s where the fun begins—each one has its own personality.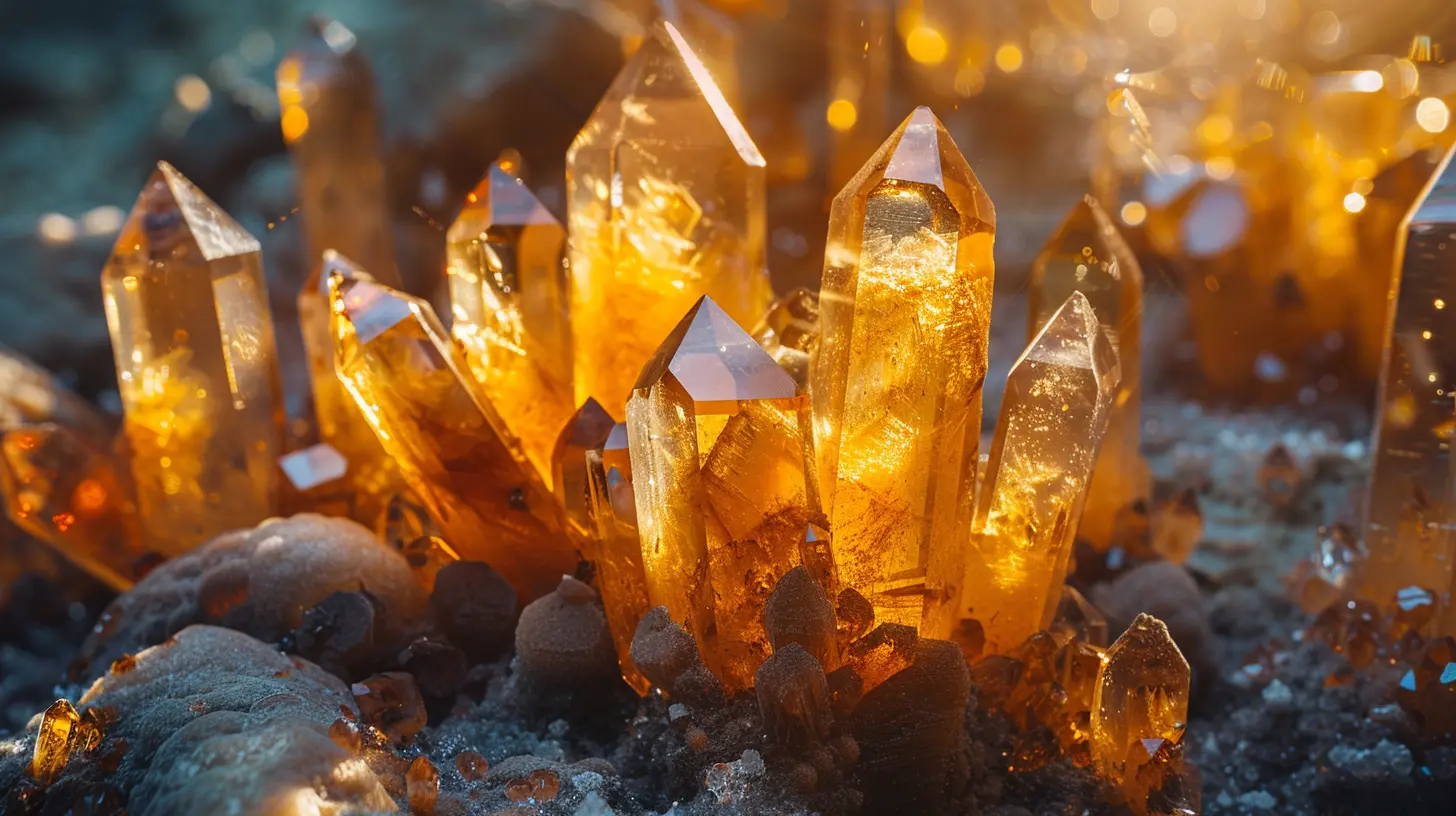
What You’ll Need to Get Started
Most crystal-growing projects don’t require expensive materials. In fact, you probably already have most of this stuff hanging around the house.Basic Supplies:
- A clean glass or jar- Hot water
- Spoon for stirring
- String or pipe cleaner
- Pencil or chopstick (to suspend the string)
- Paper towels
- Food coloring (optional, for visual flair)
Crystal-Growing Agents:
Here are a few common options:- Table salt (NaCl)
- Sugar
- Borax (available in the laundry aisle)
- Alum (found in the spice section or pharmacy)
- Epsom salt (magnesium sulfate)
Each one creates crystals with a different look. Want spiky snowflakes? Try borax. Prefer tiny cubic shapes? Salt is your pal.
Step-by-Step Guide to Growing Crystals
Let’s walk through a basic example using borax, one of the easiest and most impressive substances to work with.Step 1: Prepare Your Crystal Base
Take a pipe cleaner and twist it into a fun shape—maybe a heart, a star, or a snowflake. If you’re using string, you can tie a knot or add a bead at the bottom to offer a surface for crystals to form on.Step 2: Heat the Water
Boil some water. In most cases, 2-3 cups will do the trick. Safety first—always have an adult help with the heating part if you’re younger.Step 3: Create a Saturated Solution
Pour the hot water into a jar. Stir in your borax slowly until no more will dissolve. This usually takes about 3 tablespoons per cup of hot water. You’ll know it's saturated when some of the powder sinks to the bottom and won’t mix in anymore. If you're using a different substance (like sugar or salt), the saturation point will vary.Step 4: Add Color (Optional)
A few drops of food coloring can make your crystals look even cooler. Just remember, a little goes a long way.Step 5: Suspend the Base
Tie your pipe cleaner (or string) to the pencil or chopstick and rest it across the mouth of the jar. Make sure the shape is fully submerged in the solution, but not touching the bottom.Step 6: Wait and Watch
Now for the hardest part—waiting. Set your jar somewhere safe where it won’t be disturbed. Let it sit overnight or for 24 hours. You’ll start to see crystals forming after just a few hours. The longer you wait, the bigger they get!Step 7: Admire Your Work
Once you’re happy with the size of your crystals, gently remove them from the solution and let them dry on a paper towel. Boom—your very own handcrafted crystals!Crystal Growing Tips & Tricks
Want better or bigger crystals? Try these hacks:- Use distilled water instead of tap water. It’s free of minerals that might interfere with growth.
- Let it cool slowly. A slow decrease in temperature helps crystals form more precisely.
- Don’t shake the jar. Movement disrupts the formation process.
- Try different shapes or objects. Crystals love to cling to surfaces. Even a rock or a shell could work!
Fun Crystal Variations to Try
Once you’ve mastered the borax method, why stop there? Here are a few other recipes to test out:Sugar Crystals (Rock Candy)
- Mix 3 parts sugar to 1 part water- Bring it to a boil, stirring constantly
- Pour into a jar with a string dipped in sugar (so crystals have something to grab on to)
- Wait several days—this one takes longer but is edible!
Salt Crystals
- Dissolve table salt in boiling water- Let it cool a bit, then pour into a jar
- Insert a string or leave it in a dish to let crystals form on the surface
Alum Crystals
- Mix 2-3 teaspoons of alum in hot water- Suspend a small object or string
- These grow fast and come out super sparkly—perfect for jewelry or decorations
The Educational Side of Crystal Growing
If you're doing this as a homeschool project or a classroom experiment, crystal growing hits on several academic points:- Chemistry: Understand saturation, solubility, and molecular structure
- Physics: Observe the role of temperature in physical changes
- Math: Measure ingredients and calculate ratios
- Art: Choose colors, shapes, and creative designs
It’s like hitting the educational jackpot. Kids (and adults!) learn without even realizing it's science.
Real Talk: What Can Go Wrong?
Like any science project, growing crystals isn’t foolproof. Here’s what to watch out for:- No crystals forming? You may not have created a saturated solution. Add more solute.
- Cloudy or weak formations? Impurities in the water could be the culprit—try distilled next time.
- Crystals only at the bottom, not on your string? Your base might be touching the bottom, or the solution cooled too quickly.
Don’t worry. There’s always next time—and honestly, the trial and error makes it more fun.
Displaying or Storing Your Crystals
You’ve grown these sparkly beauties—now what?- Display them in a glass jar or shadow box
- Turn them into keychains or ornaments (especially borax or alum crystals)
- Use them as educational props
- Gift them to friends as cool handmade trinkets
Just note that some substances (like salt or sugar) can attract moisture over time. A light coat of clear nail polish or lacquer can preserve them longer.
Final Thoughts: From Kitchen Chemist to Crystal Connoisseur
Growing your own crystals isn’t just a neat party trick—it’s a blend of science, patience, and creativity. Whether you’re doing this with your kids, on a rainy weekend, or just because your inner nerd demanded it, the experience is both satisfying and kinda mesmerizing.Think of each crystal you grow as a frozen moment in time—a memory of a little experiment that turned into something beautiful. After all, who knew everyday items could make something so extraordinary?
So go ahead—heat up that water, grab some borax or sugar, and start your crystal-growing journey. You’ve got this!
all images in this post were generated using AI tools
Category:
Science ExperimentsAuthor:

Fiona McFarlin
Discussion
rate this article
2 comments
Genevieve Barrett
Great guide! Excited to start growing crystals!
January 19, 2026 at 5:17 AM
Fiona McFarlin
Thank you! I'm glad you found the guide helpful. Enjoy your crystal-growing journey!
Signe McDaniel
The process of growing crystals serves as a beautiful metaphor for personal growth and transformation. Just as impurities can hinder crystal formation, our own challenges shape us. Embracing patience and careful observation in this scientific endeavor mirrors the mindfulness required in navigating life’s complexities, ultimately resulting in brilliance and clarity.
December 30, 2025 at 5:24 AM
Fiona McFarlin
Thank you for highlighting the profound connection between crystal growth and personal transformation! It’s a beautiful reminder that patience and mindfulness are essential in both science and life.