Investigating the Water Cycle with Simple Science Experiments
14 December 2025
Let’s be honest—we all loved playing in the rain as kids, and some of us still do (no shame in that). But have you ever really stopped mid-splash to wonder, “Where does this water even come from? And where does it go after it hits the ground?” That’s exactly what the water cycle is all about.
And the best part? You don’t need a fancy lab coat or an expensive science kit to figure it out. With a few household items and a curious mind, you can recreate the water cycle right at home or in the classroom.
So, grab your lab goggles (or just your regular eyes), and let’s investigate the fascinating water cycle with some fun, hands-on science experiments!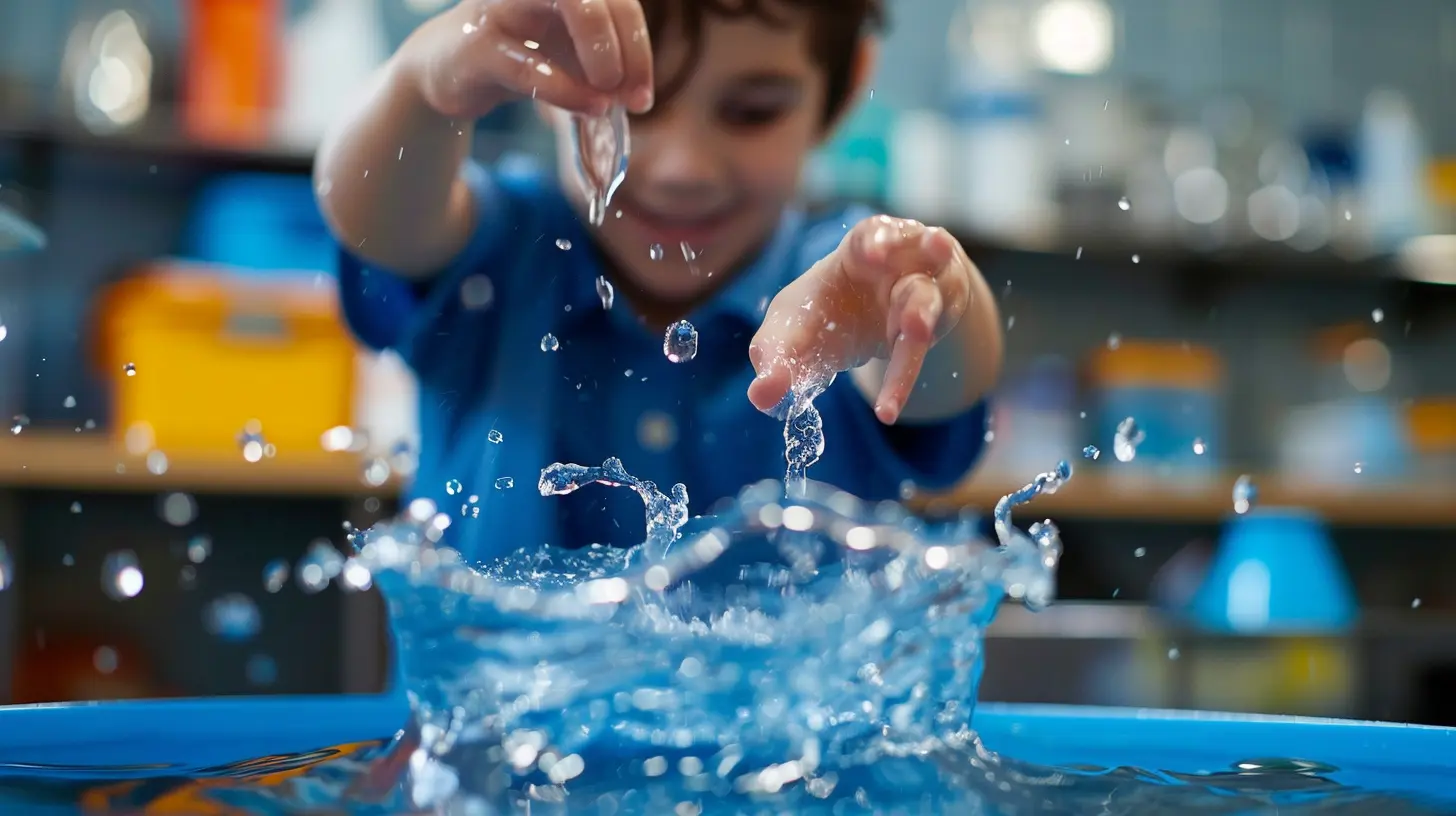
🌧️ What Is the Water Cycle, Anyway?
Before we get messy (in a fun way), let’s break it down.The water cycle is nature’s own recycling system. Water moves throughout our environment in a continuous loop—changing forms but never really disappearing. The major steps? Evaporation, condensation, precipitation, and collection. Simple, right?
Let’s make it even easier:
- Evaporation: Water turns from liquid to gas (like when a puddle dries up on a sunny day).
- Condensation: That invisible vapor turns back into drops (think foggy bathroom mirrors).
- Precipitation: Those drops join forces and fall as rain, snow, or sleet.
- Collection: Water gathers in oceans, rivers, or your backyard puddle—then the whole thing starts over!
Alright, now that we’ve got the basics down, let’s roll up our sleeves and actually see how it all works.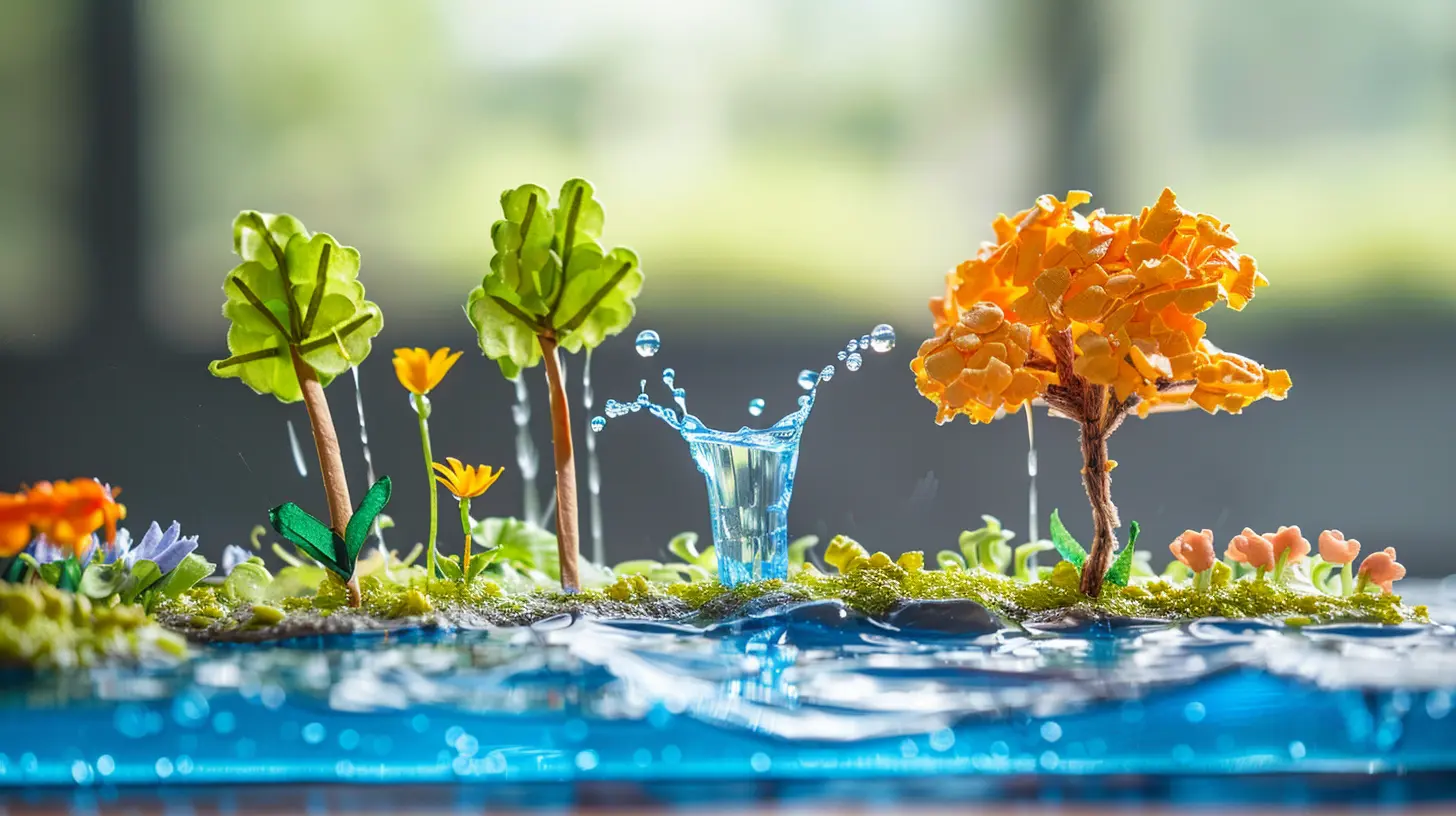
🧪 Experiment 1: Make It Rain in a Jar
This one’s a classic for a reason. It’s super simple and visually explains both condensation and precipitation.What You'll Need:
- A clear glass jar- A plate (make sure it covers the top of the jar)
- Hot water (ask an adult for help if needed)
- Ice cubes
What To Do:
1. Fill the jar about ⅓ full with hot water.2. Quickly place the plate on top of the jar.
3. Add ice cubes to the top of the plate.
4. Wait and watch.
What’s Happening:
The hot water inside the jar causes evaporation—water vapor rises. When the vapor hits the cold plate, it cools down and condenses into droplets—just like forming clouds. Eventually, those droplets get heavy and fall back into the jar… boom! That’s precipitation.See? You just made it rain in a jar. Mother Nature, who?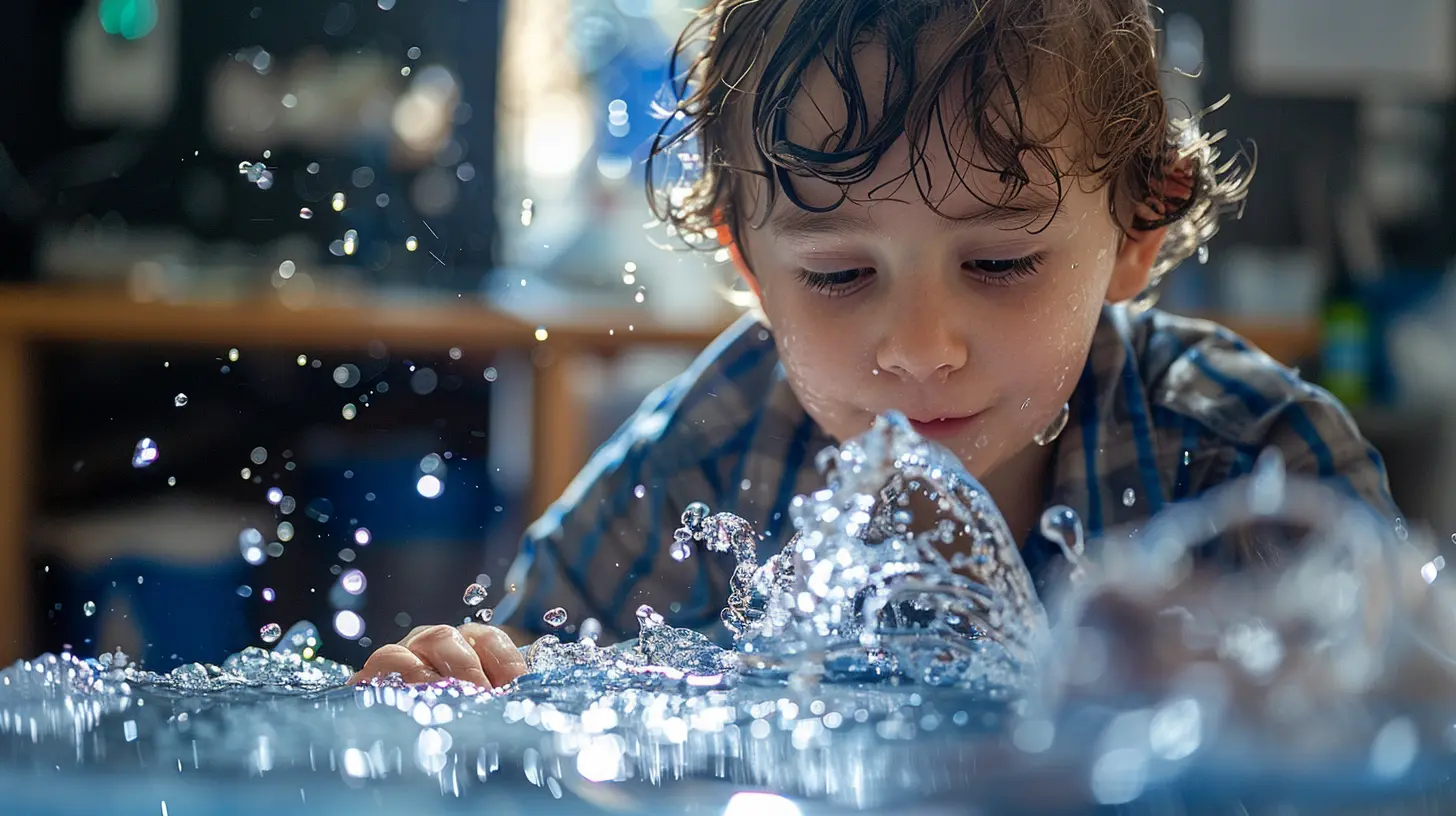
☁️ Experiment 2: Create a Cloud in a Bottle
Who says clouds are only in the sky? With this next activity, you can trap one right on your countertop.Supplies:
- A clear 2-liter plastic bottle with a cap- Warm water
- A few matches (adult supervision required!)
Steps:
1. Pour a bit of warm water into the bottle (about an inch).2. Light a match, let it burn for a few seconds, then blow it out.
3. Drop the smoking match into the bottle.
4. Quickly screw the cap on.
5. Now, squeeze and release the sides of the bottle repeatedly.
What You’ll See:
Suddenly, a cloud forms inside the bottle! Why? Because the smoke gives water vapor something to cling to. That mimics how real clouds form in the sky—tiny dust particles and molecules act as cloud "seeds."Pretty cool, right?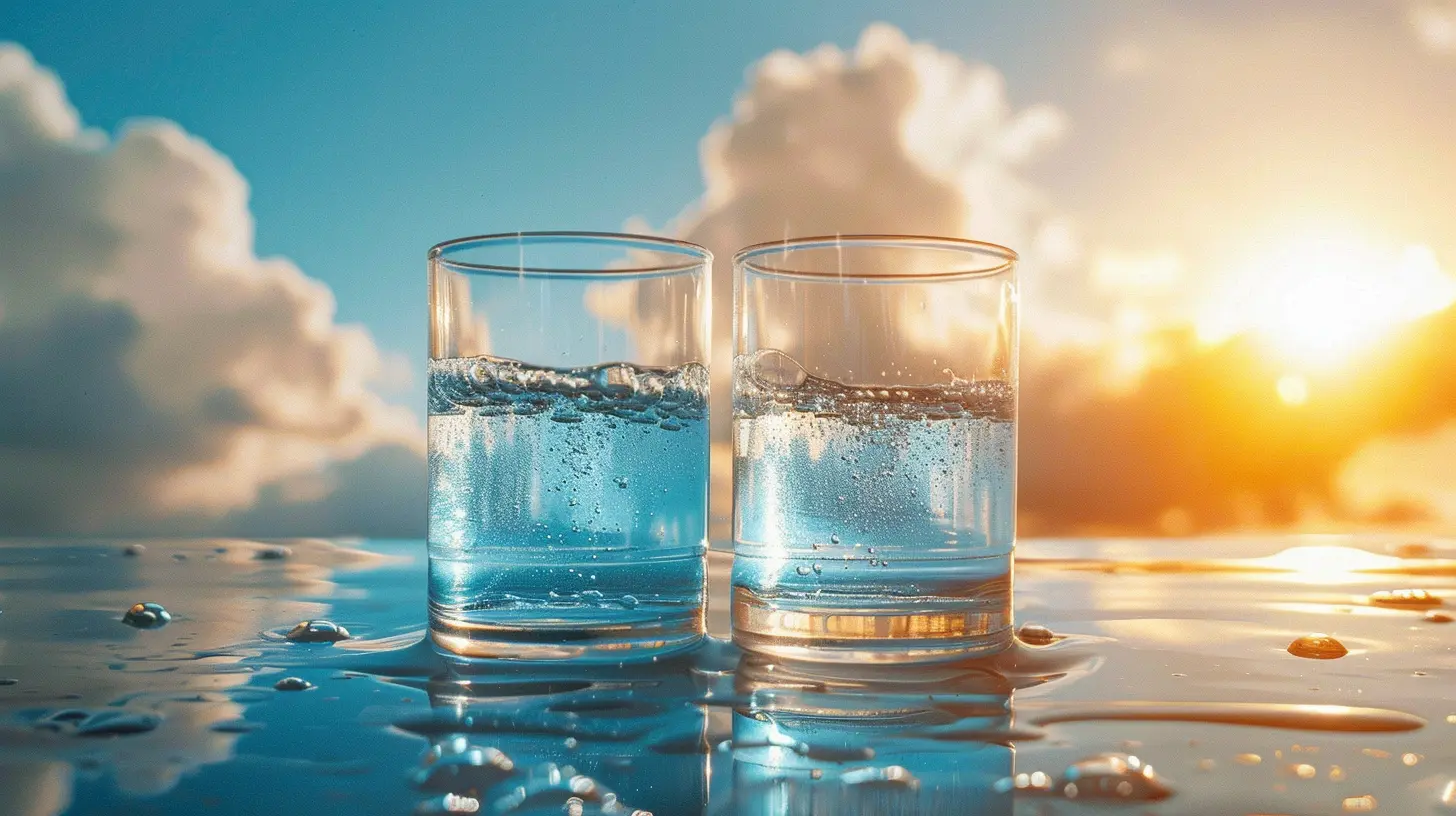
🌊 Experiment 3: Watch Evaporation with Colored Water
Let’s shift gears and explore evaporation in action.What You'll Need:
- Cups or bowls- Water
- Food coloring
- Spoons
- A sunny windowsill
Instructions:
1. Pour water into two or three cups.2. Add different food coloring to each.
3. Place one cup in a sunny spot, another in the shade.
4. Stir them and leave them alone for a few days. (Patience, young scientist.)
Observe:
The sunny cup loses more water, right? That’s evaporation, baby. Heat gives water molecules energy to escape into the air. It’s like water doing yoga—it stretches and lifts out of the cup when warmed.🌧️ Experiment 4: Simulate a Mini Water Cycle in a Bag
This experiment is pure magic—and perfect for visual learners.You'll Need:
- A resealable plastic bag- Permanent marker
- Water
- Blue food coloring
- Tape
Do This:
1. Draw a sun and clouds on the bag with your marker.2. Fill ¼ of the bag with water and a drop of food coloring.
3. Seal it tight and tape it to a sunny window.
4. Watch it over a day or two.
The Result:
Tiny droplets form inside the bag and eventually "rain" back down. You’ve just recreated the whole water cycle: evaporation (water warms), condensation (droplets form inside the bag), and precipitation (they fall back down).Who knew a Ziploc bag could host an entire weather system?
💧 Experiment 5: Making Groundwater – The Sponge Trick
Ever wonder where all the rain goes after it hits the ground? Some of it becomes groundwater, hiding beneath the surface.For This One, You’ll Need:
- A sponge- A bowl
- Water
- A small rock or toy
What You’ll Do:
1. Place the sponge in the bowl.2. Put the toy rock on top (it’s a pretend hill).
3. Slowly pour water over the sponge.
4. Observe.
What’s Going On:
The sponge acts like soil, soaking up the water—just like the earth does. Some water stays on top, just like surface runoff, but the rest hides below. Out of sight, but definitely still there.🧭 Connecting the Dots: Why the Water Cycle Really Matters
You might be thinking, “Okay, this is fun and all… but why should I care?”Fair question.
The water cycle isn’t just some trivia fact. It literally keeps life alive. It’s how we get clean drinking water, how plants grow, and how your dog ends up soaking wet from a surprise thunderstorm. Weather patterns, agriculture, even climate change—they all tie into the water cycle.
Understanding it helps us become smarter about conserving water, planning for droughts, and even predicting weather.
🧠 Bonus Fun: Water Cycle Song & Dance (Yep, It’s a Real Thing)
If you’re working with younger kids—or you just want to bust a move—try making up a water cycle dance. Think of it like the Hokey Pokey but with more science and less hokey.- Evaporation: Reach up high (vapor rising).
- Condensation: Curl into a cloud shape.
- Precipitation: Rain down with your fingers.
- Collection: Crouch low into a puddle.
Silly? Totally. Memorable? Oh, absolutely.
✨ Tips for Educators & Parents
Here’s a little pro-tip section for those guiding young minds through these experiments:- Ask open-ended questions like “What do you think will happen next?” or “Why did that change?”
- Tie it into real life—maybe discuss weather forecasts, puddles outside, or foggy windows.
- Let kids lead—the messier the experiment, the deeper the learning.
Remember, curiosity is the best teacher. And these experiments go beyond memorizing terms—they help learners see science in real time.
🧩 Wrapping It All Up
So, there you have it. Investigating the water cycle doesn’t require a lab. Just some creativity, a sprinkle of curiosity, and maybe a kitchen sponge. Whether you’re a teacher, a parent, or a curious learner, these DIY science experiments turn abstract ideas into “aha!” moments.And more than that, they spark a love for nature, science, and learning that’ll go far beyond the classroom. After all, the water cycle isn't just something to study—it's something we live every single day.
So the next time it rains, don’t just grab an umbrella—grab your imagination.
all images in this post were generated using AI tools
Category:
Science ExperimentsAuthor:

Fiona McFarlin
Discussion
rate this article
2 comments
Sloan McCarty
Exploring the water cycle through simple experiments unveils nature's complexities, fostering curiosity and a deeper appreciation for our environment.
December 28, 2025 at 4:02 AM
Fiona McFarlin
Thank you! I'm glad you found the experiments inspiring and insightful. Exploring the water cycle truly enhances our connection to nature.
Kade Pruitt
What a delightful exploration of the water cycle! These simple experiments make learning so much fun and engaging. It’s inspiring to see how easily we can connect with nature’s processes. Can’t wait to try these out with my students! 🌧️💧
December 21, 2025 at 3:45 AM
Fiona McFarlin
Thank you for your kind words! I'm thrilled to hear you found the experiments inspiring. Enjoy exploring the water cycle with your students! 🌊✨